
Every once in a while someone invents something that truly changes the world.
The wheel.
Printing press.
Sliced bread.
The flux-capacitor:
https://youtube.com/watch?v=Or7P9jfhcZ0
Well the last one wasn’t real.
But here’s a shiny new object: custom facebook cover photos with just a few clicks.
I mentioned this in my last post—where we gave away a copy of Photoshop Elements—but I didn’t give many details on how to do it.
However I said I’d save some stuff for a future post.
Consider this the future. Right now.
Okay McFly, say you wanna create an awesome facebook cover photo with a profile picture that aligns both space and time. Or at least aligns the profile pic with the photo.
Well, read on to get the best looking facebook page this side of Hill Valley.

I started with a photo of my daughter holding a picture she made me. I thought it might work out that her face could be my profile pic and the rest of the photo could be the cover image on my facebook profile. I’m in expert mode, but you don’t have to be an expert, just go to the create menu and select Facebook Cover. (as always, click any photo to enlarge)

There’s a bunch of themes you can choose from. Some use multiple photos, some can be generated from a single photo. I chose a theme that uses a single photo and makes it look like a bunch of photos. Just select one and…

…your photo appears in the template. Now you can move and scale the photo to fit the template. The little slider on the top left of the template scales the image when you drag. The square on the bottom left of the template defines the profile pic area so you can align your image perfectly.

Now I’ve moved and scaled the image to get the right fit. Click on the green check mark when you’re done.

Once you’re done, Adobe Photoshop Elements will post the photos to Facebook for you. You have to give permission for this, and if you haven’t, Elements walks you through seamlessly in this same step.

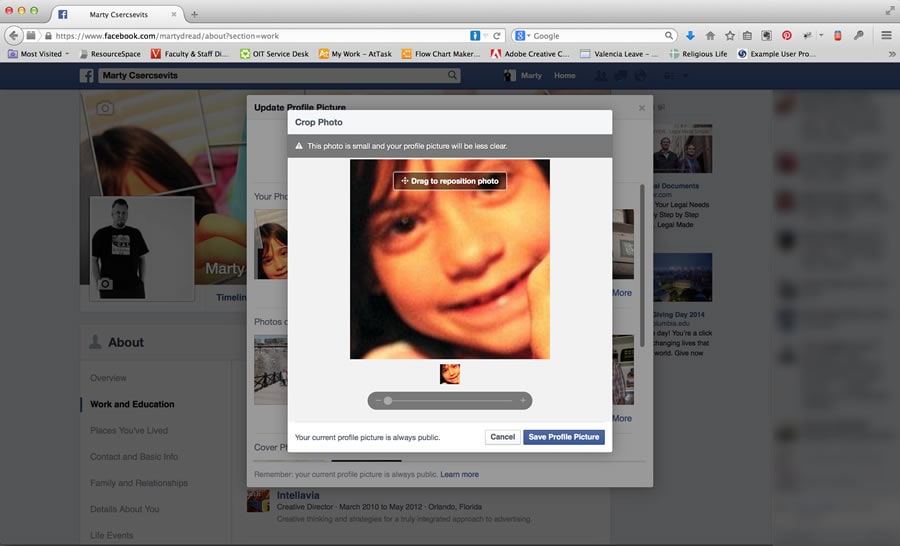
Once you’ve given Elements permission to post, your profile picture and cover photo are uploaded to a new album.

You will still have to go into your facebook profile and set the profile and cover photos. If you are not sure how to do that, then the Adobe folks went in to the future and put a video right here to show you how. If you’ve done it in the past, then check the “I know what to do” box and you’ll be cruising about 88 MPH.

First, ignore my “blast from the past” photo. And click on the “update cover photo” to add your new cover photo.
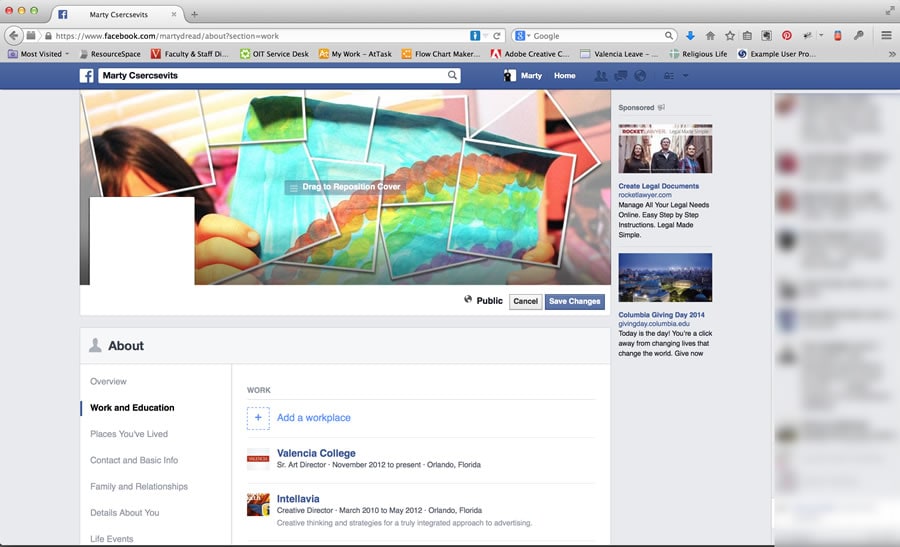
You don’t have to do any resizing or repositioning since Elements did size it perfectly. Now add your profile picture.
Again, you don’t need to reposition or resize your profile pic.
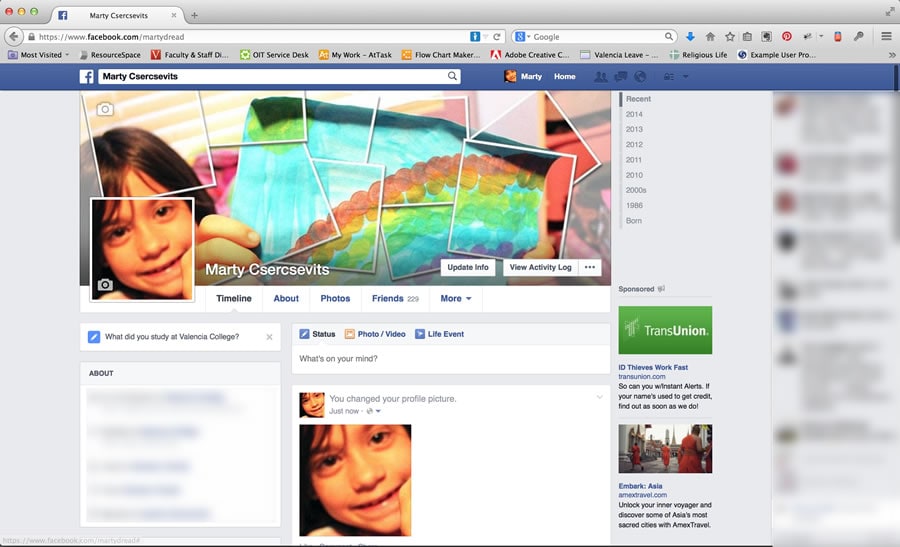
There you have it. Perfectly sized and positioned.
So let us know what your future cover photos look like. And while you’re at it, why not follow @AdobeElements on twitter and like them on facebook as well.
Disclosure: Dadand received review software and compensation to test and post about Adobe Photoshop Elements—a company whose products we love and use everyday. We believe in every product and service we review at Dadand, and promise to tell the whole truth and nothing but the truth, even when we’re trying to break the stuff we receive.


3 Comments
Thomas S
I really like the theme to make one photo look like several. The integration with Facebook is also great.
calvin reed
where do I find the ‘photostack single image’ i do not see that