It never fails. You take a group shot and something (someone) always ruins it.
They blink. They look away. A rabbit ear here, a nose pick there.
Little Billy vomits or the dog is humping Aunt Dot’s leg.
Well, I got a fix for most of those.
- Crate the dog
- Tell everyone to say “cheese.”
Then feel the pain of every department store or school photographer.
Only you did better because you didn’t have the fence post/wagon wheel background.
Anyway, when you resort to air horns, bribes or verbal threats, do what the “pros” do.
Do it in “post.”
That means…after you take the photo…for the 99.8% of you that aren’t professional photographers.
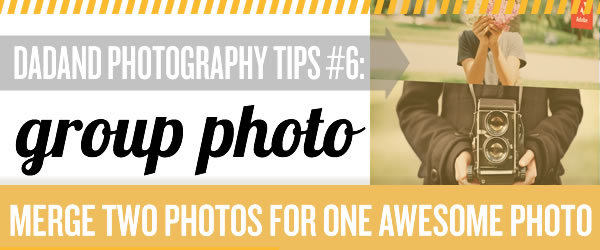
Enter Photomerge®.
Photomerge® is a feature in Photoshop Elements that is so awesome, even the name had to be trademarked.
I like to think that Photomerge® was Adobe’s personal gift to me. A massive effort from Bob Gager and the PSE development team. They somehow knew that having four children meant a lifetime of holidays, vacations and birthdays where there would ALWAYS be a kid burping, blinking or otherwise compromising the integrity of the photographic memories I try so hard to create.
Here’s the part where I’d challenge my kids to do something that Photomerge® couldn’t fix. But I’m scared of what they’d do.
So instead, I’ll take you through the paces of using this feature using a relatively tame example. (Click on any screen shots to see a larger version.)

So you do need to start with two photos. When taking group shots, I think most people instinctively take more than one shot, just in case…
So here I have a series of photos I am browsing in Photoshop Elements Organizer. I select two shots and open them in Photoshop Elements Editor.

This photo is pretty good except my younger son is looking out of the frame instead of at the camera.

My younger son is looking at the camera in this shot, but my older son is looking down. Let’s merge the two shots together and get one where everyone is looking ahead.

So I begin with the photo that I would like to use as my “final”. I navigate to the Enhance menu, and select Photomerge > Group Shot…

PSE will ask me to choose a “source” photo—the photo that I would like to copy portions from. I select the source by showing the Photo Bin on the bottom left of the screen and dragging the photo to the “source” box in the middle of the the screen. If you’re all…”Huh?” Then just use PSE’s Guided mode and it will walk you through the paces.

You see how the final photo on the right is rotated a bit? That’s because PSE attempts to align the two photos in order to ensure any portions you merge stay aligned from photo to photo. As I look at the positions of the children’s heads from photo to photo, it looks pretty good. But if the photos do not align well, you can use the Alignment tool to map marker points. It might be hard to see here, but I moved the three marker points around my son’s head—one each on his shirt where the sleeves meet the collar, and one at the top of his head. (Click the image to see a larger version)

Next I map the marker points on the final photo, placing each numbered marker in the corresponding location to the source photo. (Again, click to zoom.)

Now it’s time for the magic. Select the pencil tool by clicking the button on the right of the screen. And just draw on the source (left) photo. Any area you draw over, or encapsulate, will appear in the final photo on the right in just a few moments. If you make a mistake, just use the eraser tool and try again until you get it right.

I zoomed in a bit so you can see how it blended. Pretty awesome for about 30 seconds of work.

Here’s the before…
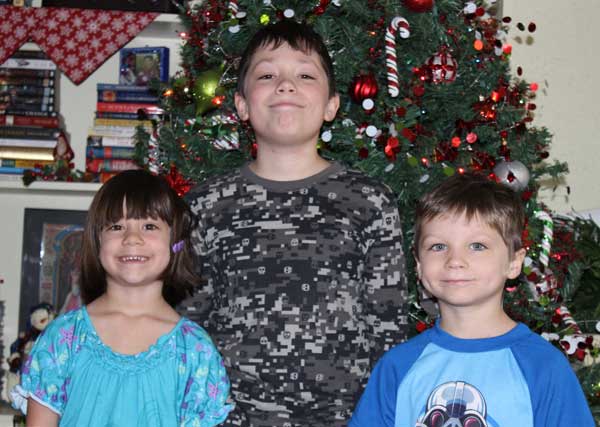
And the after…


1 Comment
The Dad Network
Hi there,
Great blog. :) Good layout and easy to follow. I’m pretty new to this world, so trying to have a look at what’s out there.
Take a look at mine if you get a minute, leave a comment, like on FB and follow me on twitter. :)
I’d be happy to recommend your blog on my site, perhaps a bit of mutual promotion?
Thanks mate