
Or simply “Tiling Your Patio Floor.”
Or more realistically, “One Weekend of Tiling Turns into Three Weeks on a Hot Patio.”
I’m gonna fix the “hot patio” part soon, but for now let’s get to the ground.
Oh hey, did we mention we’re now Handyman Bloggers for Lowes Creative Ideas?
Well, we are.
And in my attempt to be creative, and handy, I thought ripping up my ragged-out outdoor patio carpet was a good idea to kick off the summer.
In Florida. In June.
Well, with the help from Lowe’s I think it makes for a good post…and a better porch.

The porch is kinda cluttery, catching a few items that have nowhere else to live for the moment. We need more than a floor, so I’ll be updating a few other things as well.
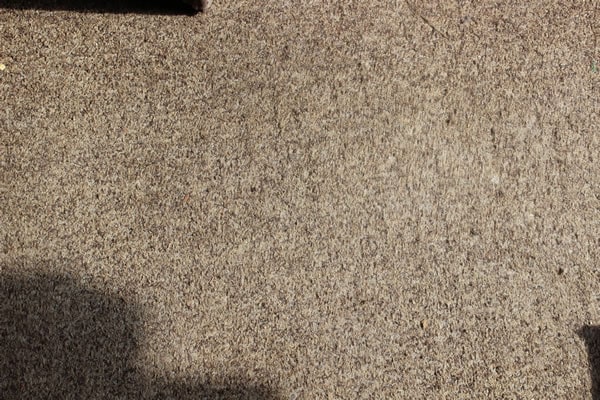
The carpet is beat. 12 years of kids, pets, dirt and the occasional hurricane winds and rain.

Our patio furniture is only a year old, but the cushions weren’t the best, so they have to go. With a nice new floor, we’ll have to update these as well.
Out with the Old
About 12 years ago, I removed some well-worn outdoor carpeting and replaced it with something that fit my budget at the time—some more outdoor carpeting, only I used the proper glue to adhere it to the patio floor.
Fast-forward 12 years and the glue worked awesome. So awesome that I couldn’t remove it from the concrete. I spent weekend number one ripping up 12” sections of carpet from my 10’ x 20’ patio and wondering how I would get the adhesive off.
Some research resulted in three solutions:
- Use some pretty harsh chemicals to break down the glue and scrape it off
- Use dry ice to freeze the glue, then chip it away with a 5-in-1 paint tool
- Use a concrete grinder to obliterate the layer of glue and smooth out the slab
What would Dadand do?
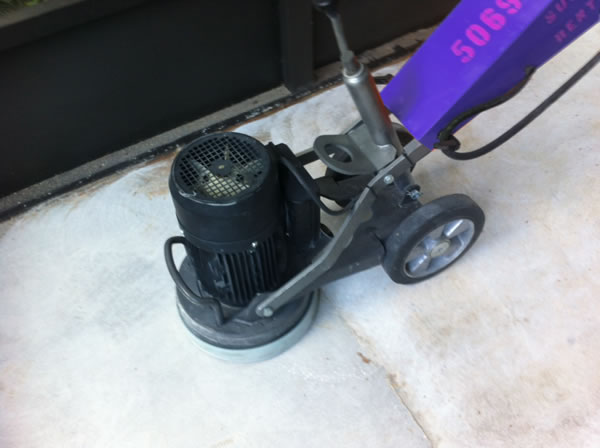
This is the concrete grinder I rented.
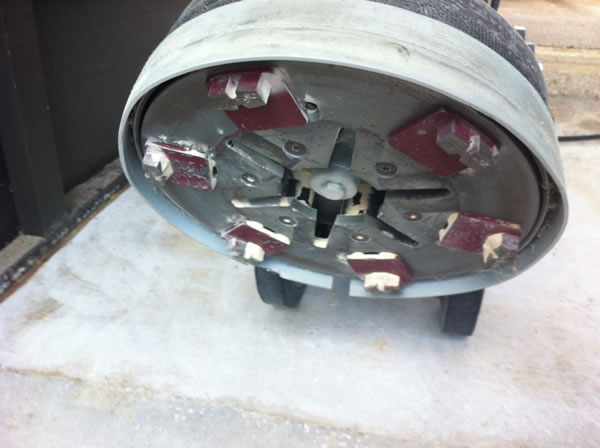
The concrete grinder has 6 diamond abrasive inserts that magically turn concrete into dust.

This is the equivalent of 4 hours. It’s heavy, dusty and tiring. Wear your eye protection, respirator and stay hydrated. Then suck it up for another 4 hours.

When I pulled up the old carpet, much of the backing stayed with the adhesive. You can see that the concrete grinder does a pretty good job of removing everything.
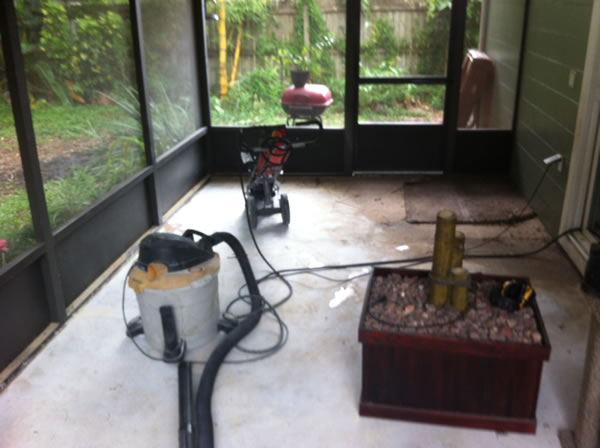
About 75% complete. My shop vac connects to the grinder to keep dust to a minimum.
In with the New

It’s time to tile. I’ll stay away from describing how to tile, there’s plenty of information on the Lowe’s website. I struck some chalk lines to reference and got underway with mixing thinset and laying tile. I am using a porcelain tile that is textured and made for outdoor spaces. The texture is crucial so you don’t slip and fall if the tile gets wet outside. It’s also important to use a polymer-added thinset suitable for exterior use. Lowe’s associate Patrick was very helpful in helping me to find the right thinset, not to mention he loaded up the 18 cartons of tile for me to checkout.

So here’s progress for weekend #2, day two. I liked the look of the KILI Apollo 8”x16” tile (Lowe’s P/N 399384) in a staggered brickwork pattern.

We kept a bucket handy with clean water and a sponge to wipe up any thinset that may have landed on top of the tile.

Getting close. Notice I didn’t start by tiling on the first row closest to the house. I wanted to ensure straight rows of tile, and the house foundation was a little wavy along the edge. I’ll end up having to cut a few tiles lengthwise to fit in this row, but it will be largely unnoticeable.

I splurged and bought two containers of Bostik NeverSeal grout (Lowe’s P/N 442162). At about $75 per container it was pricey, but it doesn’t need to be sealed. And with all the foot traffic of kids and pets, I don’t want dirty stained grout in three months. I used a similar product from Lowe’s about seven years ago that still looks brand new today. Totally worth it.

So here it is. The completed floor. We had been saving a rug made from recycled plastic bottles that is also stain and weather proof.

Now here’s a shot to compare with the first one, a mini-makeover of sorts. We picked up some nice new cushions from Allen + Roth at Lowe’s. They were well-made, firm and we loved the green color with a hint of blue in the material.

Here’s another angle showing the finished floor and our patio set. More on the accessories in another post (some great allen + roth pots and lighting), as there will be a part two very soon!
We’re very happy with the way our patio turned out. The flooring looks great, is durable and I expect it to last forever.
And we’re looking forward to spending a lot more time outside, it’s summer after all.
Part two of this patio re-do will be changing the lighting, then rescreening and adding some windows over the next few weeks. Then we can pipe in some climate control! Check back soon.
![]()
Disclosure: As a #LowesCreator, I was provided with a Lowe’s gift card to purchase supplies for this post. I was not told what to write. All ideas and words are my own.


2 Comments
Megan @ ereplacementparts
What a transformation! This looks really great guys. Good to know the grinder can help with getting the rest of the carpet up. If there is just a small patch, do you think that a hand grinder would work?
Pete Fazio
I’m sure a hand grinder would help if you used enough gumption.