

Ahhh… the big game is coming soon. Who’s it gonna be? The Tigers vs. the Sabres?
I don’t care. Those aren’t even football teams. I just watch the commercials.
But I do like the surrounding hoopla. I grill out, drink a few beverages and wonder if the CPI for $4M 30-second spot is worth it. (Ad guy speak)
So unless you have one of those manly leather sectional sofas with the hidden cupholder compartments, where are you gonna stash your drink? On the coffee table?
Nah. That’s too far to reach.
You’re gonna build this slick little armrest cupholder, then enjoy the commercials…errr, game.
This is a great little woodworking project built from readily available 1/2″ birch plywood, some 1/4″ birch ply a couple of pieces of felt and a can of spray paint. I picked them all up at Lowe’s for under $20.
Yep. Twenty bucks.
I’m not gonna go into how to cut wood, but just show some highlights on putting this together.
Oh and you can download the plans to see a cut list.
Get the plans
![]()

I had most of this idea in my head, so I was kinda playing it by ear. Here’s a rough dry fit, upside down. I just “45’d” the side and top for a nice finished edge when assembled.

Here’s my super-technical way to determine the depth of the glass and then find the radius of the cupholder.

I set the glass centered in a 3″ diameter hole saw and set my square to the edge of the holesaw. As long as the bottom of the tape line fell into the that area of “air” I knew the glass would fit in the hole. That sure is hard to describe. I’m sure there’s some better way to describe this. Or maybe you take a scrap board, drill a bunch of holes in it and see which one fits your glass?

Here’s the layout for the holes. Why did I make two? Because there was room. And maybe I could have a backup bev ready to go.

I moved to the drill press to get a clean cut using a pretty cheap hole saw. Plus it’s large enough that if it catches an edge it’ll twist your wrist off if using a hand-held cordless drill or something.

This shows the outer side of the caddy, as I added the dividers for the remotes. If you’re just looking at the pictures to this point, make sure you download the plans that show how it all goes together.

…aaannndd with the outer panel pinned/glued…

I used these thin wire pins and a pin nailer to attach the outer portion of the remote holder. Since it was only 1/4″ wood, a little glue and a few of these held nicely. What’s cool is they all but disappear into the wood, many times you won’t need to putty and sand the holes…

I set up my Bosch laminate trimmer with a 1/4″ round over bit to smooth over the holes from the hole saw.

With a little sanding these’ll be ready for paint.

Before final assembly, I did glue up and paint the lower portion of the cupholder. Since the interior sides could be seen through the top, I wanted to make sure they got paint, which was easier to do now. The bottom will receive some brown felt for some authentic “coaster action.”

I also painted the underside of the top, to ensure coverage of the rounded edges. I taped off the areas for gluing.

Now here’s the upper and lower portion of the cupholder assembly ready to go. I used a few 3/4″ brads to hold it together while the glue dried.

Well, here’s both sides glued up and ready for some sanding.

I sanded the assembly with 120 grit then moved to 220. And I took all the sharp edges off by running the every edge through a 1/8″ roundover bit on the router table.

Sanded, rounded and ready to paint. Yeah, I could have stained this, but I would rather have applied a birch veneer to the front and back to hide the construction of the cupholder area as stain would bring out all of those undesirable edges. I wanted to hide that. (And yes, I could have built this a number of ways to make that area more attractive). But this works.
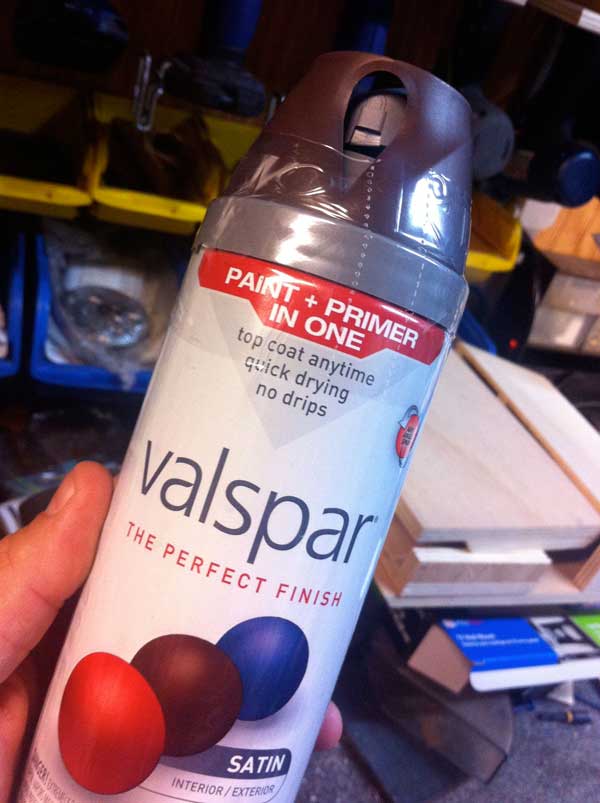
I tried this Valspar spray bomb as the brown color was a good match to the Pantone swatch I brought in with me. And hey, Lowe’s now has Pantone paint in quarts and gallons. I think it did a good job, but I still cannot be convinced that paint and primer in one is better than priming and painting separately.

Here’s a shot of the felt inserts. Luckily, they were a nice complementary brown to the brown paint and brown sofa upholstery.

And looky, the remotes all have a home…instead of being under a cushion. Or in the toilet. Or dog dish. (I have four kids…remember?)

Well, here’s the final fit and finish. Snug enough that it doesn’t move but won’t mess up the couch. Not so ugly that my wife will hate me. And I can quickly grab the mute button when those stupid talking baby commercials come on. How many talking baby spots can there be? Can you try something original? They weren’t even funny six years ago.
Oh sorry, build one and tell us about it. Time for a test run.
Don’t forget to download the plans.
Get the plans
![]()

Spring is calling! Stay on track this spring with special values, tips and how-to’s from Lowes: http://www.lowes.com/improve
Disclaimer
“In accordance with the FTC Guidelines, I am disclosing that I received compensation from Lowe’s for my time and participation in the Lowe’s Creative Ideas Influencer Network. Although we have a material connection to Lowe’s, any publicly stated opinions of Lowe’s and their products remain our own.”


13 Comments
Mike
So cool! What a fun and very useful project. Time to get to work — thanks!
Autism United
Thinking this is a must have for my couch!
Jeff Le M
Love your blog guys and the do it yourself cup holder is surely a favourite with Dads, leaves Mum’s happy you’re not drilling holes in the couch and doubles as a sippy cup holder. Nice work.
Josh
This is a great project, thank you for putting this together!
Nigel
I’ll make sure this project goes in my To-Do list. I’m a couch potato, and I lose that remote all the time.
Dan
My wife’s new project for me but it’s really for ME!
Michael
………..I will make one……….
……….What a GREAT idea………..
Harish S
This is so cooool. Thanks for sharing the plans.
Kerry Hill
I donated and clicked the link and nothing happened
Pete
contacted you with an email.
Bianca Mitchell
I’ve also just paid and can’t work out how to download – help, please.
Marty
Bianca,
Contacted you via email.
Bianca Mitchell
My thanks to both you and Pete for responding so quickly (and generously!) – next time I will be more patient and wait for the download link to appear after paying:) Thank-you again, and Happy New Year to you and yours!