
I decided to give my mom a hand and do some work on the bathroom in her (new-to-her) home.
Maybe a faucet and a coat of paint.
Well, it turned into a remodel.
Kind of like my ’56 Ford project that I was going to drive while I fix it up.
Now it’s stripped down to thousands of pieces getting “the works.”
So the bathroom is getting “the works” too. I couldn’t paint until the wallpaper came off. And then the walls needed a skimcoat of joint compound and some sanding before paint.
And we might as well do the floor. And the vanity came out while we’re at it.
Then electrical, lights, sink, faucet…framing for the medicine cabinet.
Blah. Blah. Blah.
But I was determined to do it in 5 days (or so).
Unlike my Ford—that is going to take another 5 years.
So here goes.
Day 1-2: Wallpaper Removal

Here’s a before shot. Big ugly mirror with dated light fixture…

and the previous owners just slapped a coat of paint right over the wallpaper.

In many places, the seams of the wallpaper were coming up—and they painted right over some obvious tears.

I’m glad they painted over the wallpaper. The paint and top vinyl layer of the wallpaper came right off in big chunks, leaving only a thin layer of paper left behind.

I took care of those wallpaper remnants and glue with this stuff. A gel wallpaper and paste remover. Spray, sit for about 15 minutes and then it scraped clean off with a putty knife.

I pulled the mirror off and found this little surprise. A nice big hole in the wall. I think it was from a recent replumb. I planned on making a bigger hole to fit a medicine cabinet anyway.
Day 3: Frame for Medicine Cabinet and Fix Drywall

I framed in the opening for the medicine cabinet using 2x6s and had to relocate the wiring for the light fixture.

There wasn’t even an electrical box for the old fixture. The previous owner just ran the wire out a hole in the drywall and then used electrical tape for the connections. Seemed like a fire waiting to happen to me. I got an “old work” box and temporarily installed the new light fixture.

I pulled the vanity out and got my first coat of drywall compound around the opening, then hit all the little nicks and bumps in the wall. There were a lot of nicks and bumps. A lot.

While the compound was drying, I pulled the toilet up and then removed tiles. Luck was on my side again here. There was peel and stick tile over linoleum tiles, which came right up with a 5n’1 tool.

Tile gone. There was some residue from the linoleum tile adhesive—the black-looking stuff. I ran up to Lowe’s and got some TSP to etch the floor and clean it up for new porcelain tile.
Day 4: Tile

Day 4 started with some 6×9 porcelain tile laid out in a bricklayer’s pattern. I ran the tiles longways to make the bathroom seem deeper. And with the smaller tiles, I used smaller joints, at 3/16”.
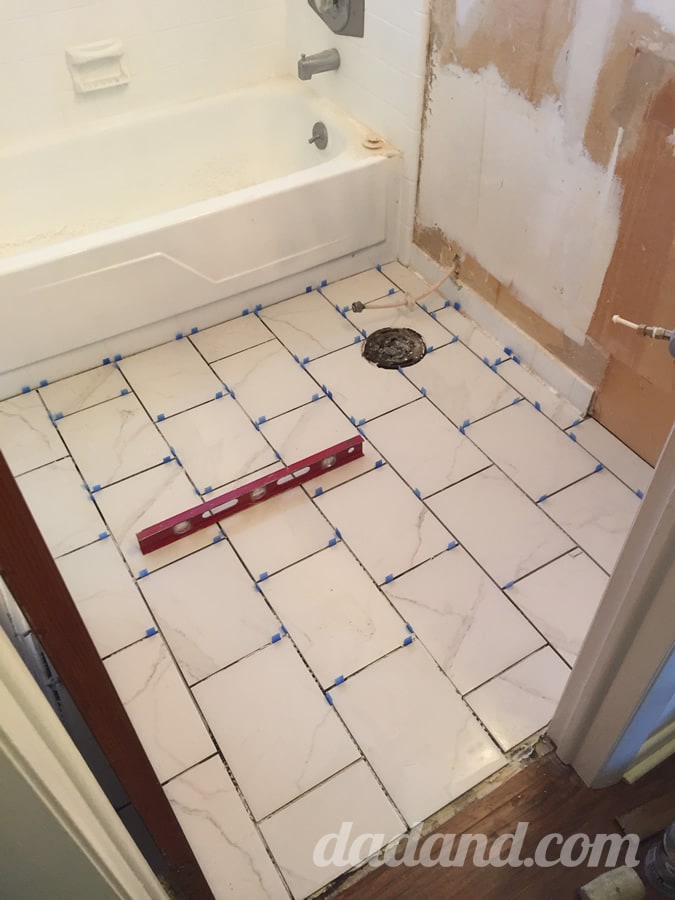
Tile done.
Day 5: Grout and Toilet

I started early on Day 5 by applying a sanded epoxy grout in a light gray color.

I gave the grout about 6 hours to setup and carefully installed the toilet and placed the vanity to get a feel for how it would come together.
So, I’ve blown the 5 days goal at this point. The walls still needed a little bit of sanding here, then paint and caulk. So stay tuned as I tackle paint in my next post.


