We’re official Handyman Bloggers for Lowe’s Creative Ideas so it’s our job to do things that YOU can do in your house if you’re handy. This month I show you how you can use paint to give your bathroom a facelift in 24 hours.
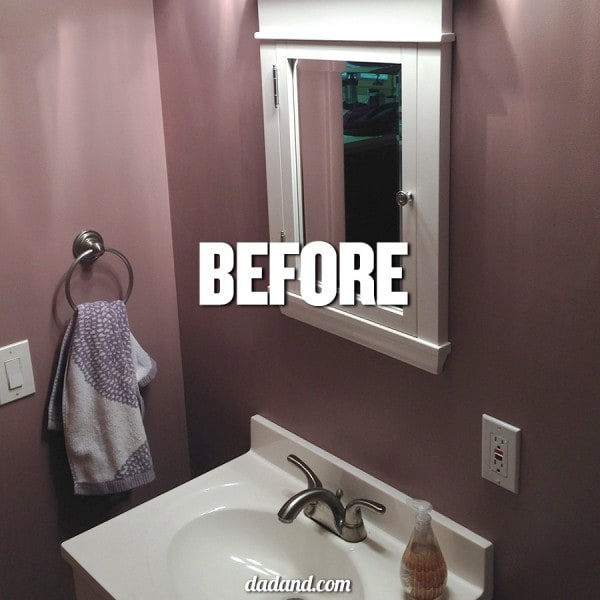
So, this is my half bathroom.
I think this color is mauve? Purple? Dirty purple? Purple rain? Whatever it is, it’s dark, and it has to go. The walls feel like they’re closing in on you when you’re having private time. It’s so dark that doves actually cry when they see it. (What’s up with the sudden Prince theme?)
Our house is going to have kind of a Scandinavian modern feel to it. To us that means lots of white and light wood, with splashes of color, so in order to have a fresh canvas to work with I decided to just white out this bathroom and make it fresh, clean, and NEW!
The paint.
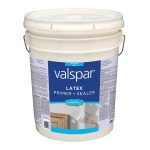
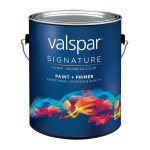
In my younger, free-er, more single days, I would have used any old cheapo paint, the kind with the fumes because if you’re going to paint, you might as well get light-headed doing it so you can enjoy it, but now I have a pregnant wife and a daughter to think about, so I wanted to go with everything low VOC. I found both low-VOC primer and paint at Lowe’s. And here’s what I went with:
Valspar 5-Gallon Interior Latex Primer & Valspar Signature Paint.
The paint is paint + primer, but on a background as dark as I have, I always go for real primer first.
Painting is all about prep work.
I know, prep work is BORING, but if you spend the time up front, the finished product will look MUCH better. At least take the extra time with the area across from the toilet where people will be staring while they’re sitting on the bowl.
Here’s my painting ritual.
Step 1: Strip the room bare. Everything that’s easy to remove has to go. I’m talking about everything, like remove the door AND the hinges. Take off the strike plate. Take off the towel racks and toilet paper holder. Pull off the medicine cabinet. Take off any light fixtures (turn off the power first). It sounds like a lot of hassle and I know you’re thinking “I have a steady hand, I’ll just save time and not pull all the stuff off”, but trust me, it’s easier to remove all that stuff and slap paint down freely than to try and paint around all that stuff, because you’re going to slop paint all over the hinges and towel rack, and painted hinges and towel racks look dumb.
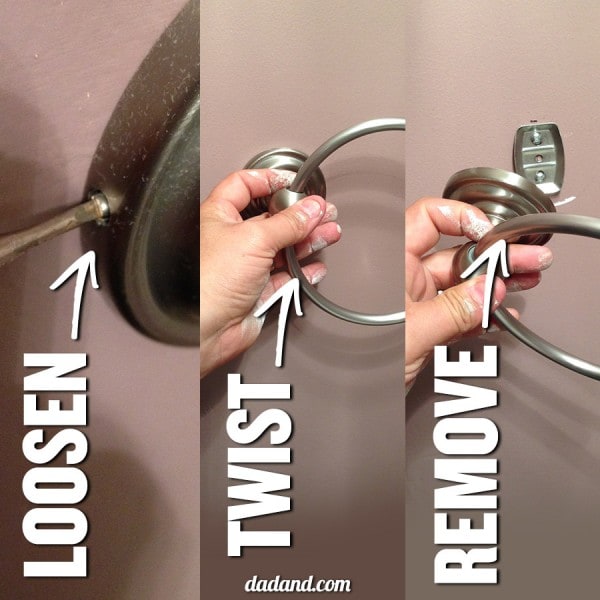
TIP: How to remove MOST towel racks. most towel racks and toilet paper holders have a little set screw holding them onto a base that was previously screwed into the wall with some kind of wall anchor. So don’t just try and wrestle the thing off the wall or you’ll pull out the anchor, damage the drywall, and have to spend even more time and do a drywall fix, like this one. See below.
Step 2: Fill holes and caulk. Inspect the walls for nail holes where pictures were hung and throw some spackle on the wall, in most cases you can use your finger and mush it on, let it dry a bit or be clever and use a damp sponge to smooth it out. Dig out any old caulk and replace with fresh, new stuff. Especially around the vanity. if the caulk is in good shape, leave it.
Step 3: Sand down the walls. You don’t have to go crazy, just scuff everything up with some 150 grit sandpaper. It serves two purposes. 1. It will knock down the little embedded hairs and lint and stuff from the last person’s crappy paint job. And 2. It will give the wall some tooth, so the primer has something to grab onto.
Step 4: Wash the walls. Paint won’t stick (very well) to greasy, dusty walls, so grab a damp towel or big old sponge and wipe down the walls. Let the walls dry (I REALLY didn’t want to put the part about letting walls dry in, but I’m trying to avoid the complaint emails about how you shouldn’t paint wet walls).
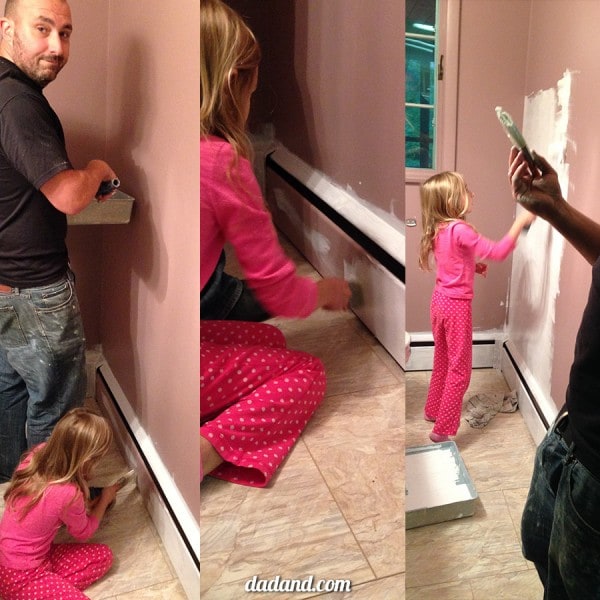
Step 5: Enlist some help to paint. In this case my daughter wanted to help. Since I was starting the primer coat, and I don’t really care about the primer coat being super neat and tidy, I gave her a brush and roller and let her have at it. As long as she only wiped her hands on my pants if they got painty, and kept the floor as clean as possible, go for it. She took the low parts of the wall and I took the high.
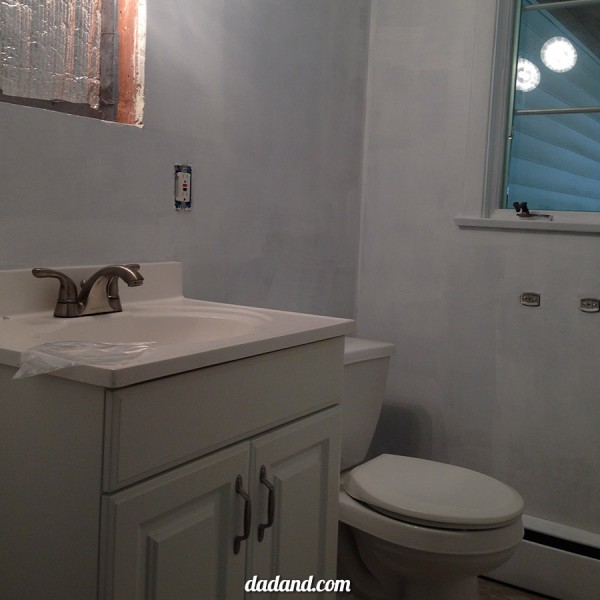
Primed and ready for paint. (See, I really did rip everything out, medicine cabinet, TP holder, everything.)
TIP: Behind the toilet. For the love of god, PLEASE do not leave the area behind the toilet the old color because you can’t reach back there. NOTHING looks more ridiculous than when the old color is still behind the toilet. Get a little 4-inch mini roller and reach behind the toilet with it, PLEASE.
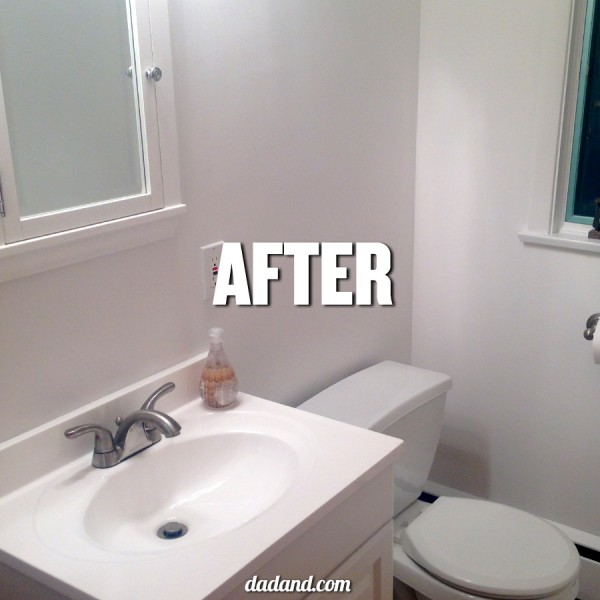
The finished job.
Aaaaand, since writing about painting is actually more boring that watching paint dry, BLAM, the finished bathroom.
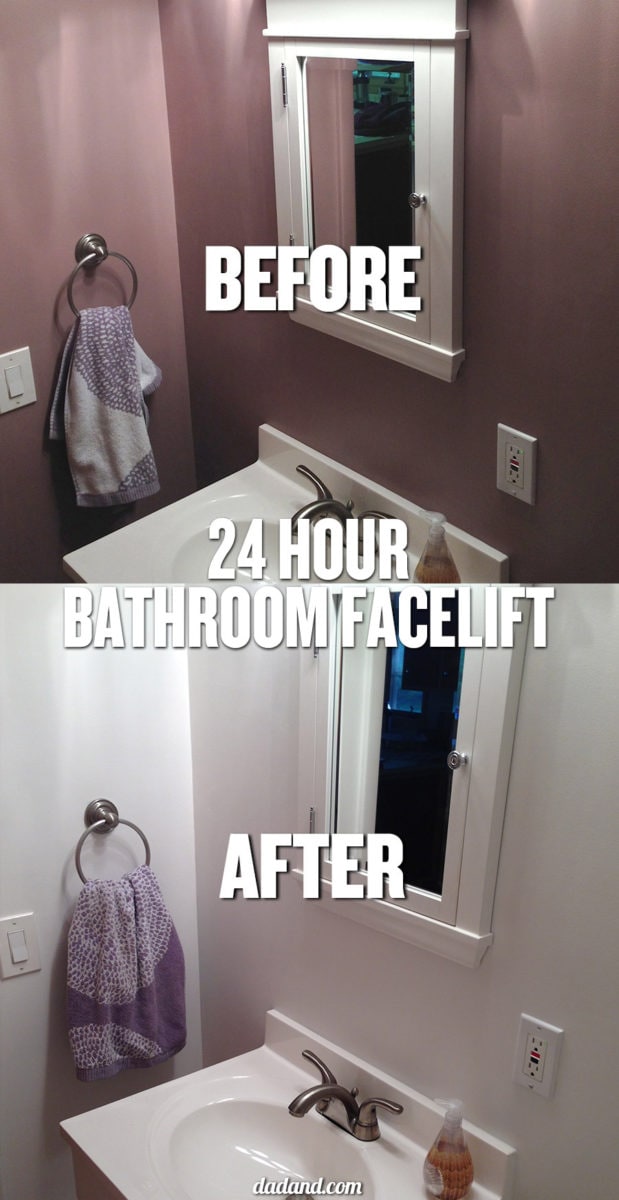
And just so you don’t have to scroll up and down to see the results:
The white REALLY brightened up the bathroom and gave it a fresh clean feel. And no joke, this was all completed and reassembled within 24 hours. Prep work and priming on the eve of the first day, painting, drying, screwing everything back together on the second day. Easy.
Sign up for their free Lowe’s Creative Ideas Magazine, which is filled with ideas + inspiration! Plus you can always follow them on Pinterest and Instagram for even more great ideas!
Disclaimer
“In accordance with the FTC Guidelines, I am disclosing that I received compensation from Lowe’s for my time and participation in the Lowe’s Creative Ideas Influencer Network. Although we have a material connection to Lowe’s, any publicly stated opinions of Lowe’s and their products remain our own.”




3 Comments
Brittany aka Pretty Handy Girl
Nice makeover! I feel the same way about painting behind the tank. No excuse for skipping that area. Your bathroom looks really nice. I had to laugh, it looks like our previous homeowners were Prince fans as well. (Purple half bath.)
Sarah
Nice! I also recently painted my bathroom white. And I made my husband take the toilet tank off so I could paint behind it since it was just too darn close to the wall to squeeze anything at all in between.
Primrose
Looks very nice! I actually did the reverse for my master bath; I’m a new homeowner and my house needed life, color, and a quick makeover because my partner and I have a lot on our place to fix our new house.
We need to replace all outlets, seal our deck, replace fake wooden flooring with real flooring, and other endless things. It was built in the 80s and time hasn’t been kind to the place. So the previous owners solution to “hide” ALL the old looking walls and cabinets was to paint everything a stark white.
It’s great and quick solution to sell a house. Let me tell ya. The white made everything actually look dingy and sad because you can see EVERY crack and imperfection. Also, the countertops in the bathrooms were a cream color that I suspect used to be more white-ish. So having a white bathroom just made the countertop look dreary and dirty. I used a pallet similar to this bathroom: https://www.google.com/search?q=mauve+bathroom&espv=2&biw=1280&bih=918&source=lnms&tbm=isch&sa=X&ved=0ahUKEwiZ9eW1_MbRAhUqqVQKHS_jAI4Q_AUIBygC#imgrc=xb2Luj2xG6NpFM%3A AND IT LOOKS SO MUCH COZIER!
Don’t get me wrong, I love clean and bright bathrooms! But we are trying to make the most of what we’re working with and are focused on fixing the bigger issues of the house. Maybe in a couple years we can work on upgrading our rooms and built in cabinets for a brighter, cleaner feel. But this has helped tremendously!